1. Add webinar details
Give a concise title, choose the date, and select a time zone are the first steps in creating a webinar.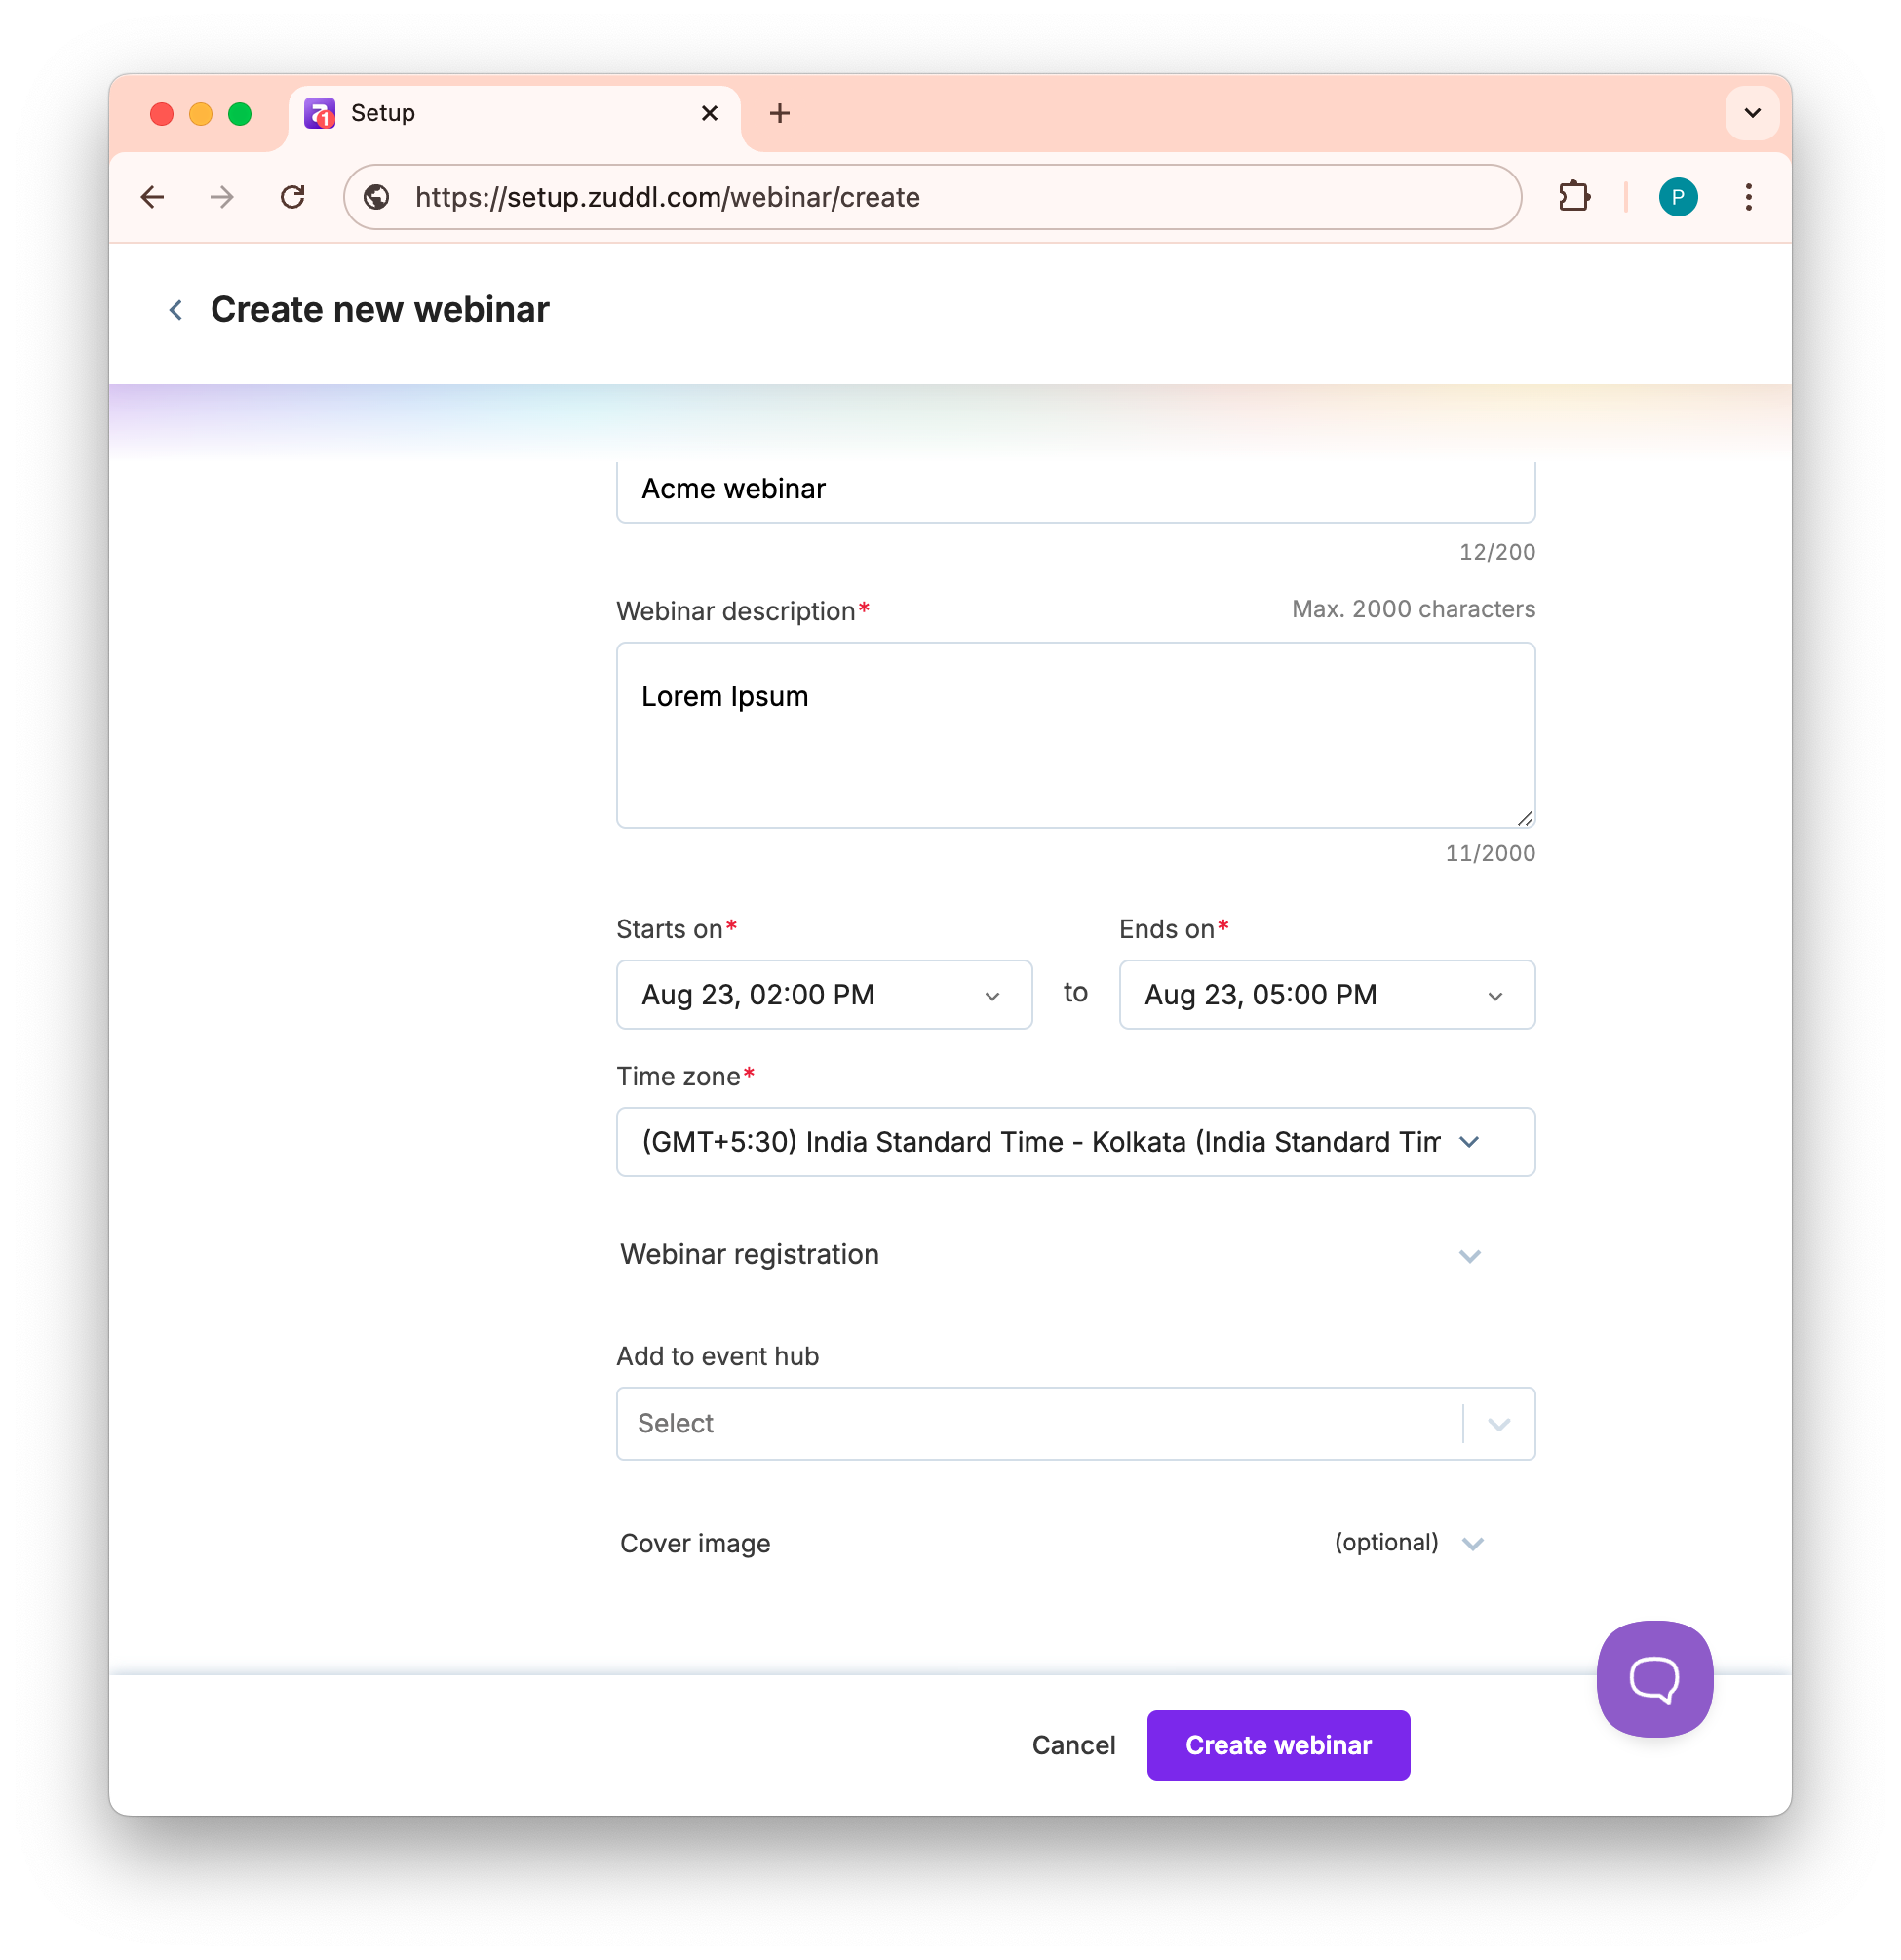
2. Brand your webinar
After creation, customize branding of your webinar, like uploading a background image, setting primary color, and dropping in a webinar logo. Consistent visuals reassure registrants that they are on your property, and the same palette is propagated to confirmation emails.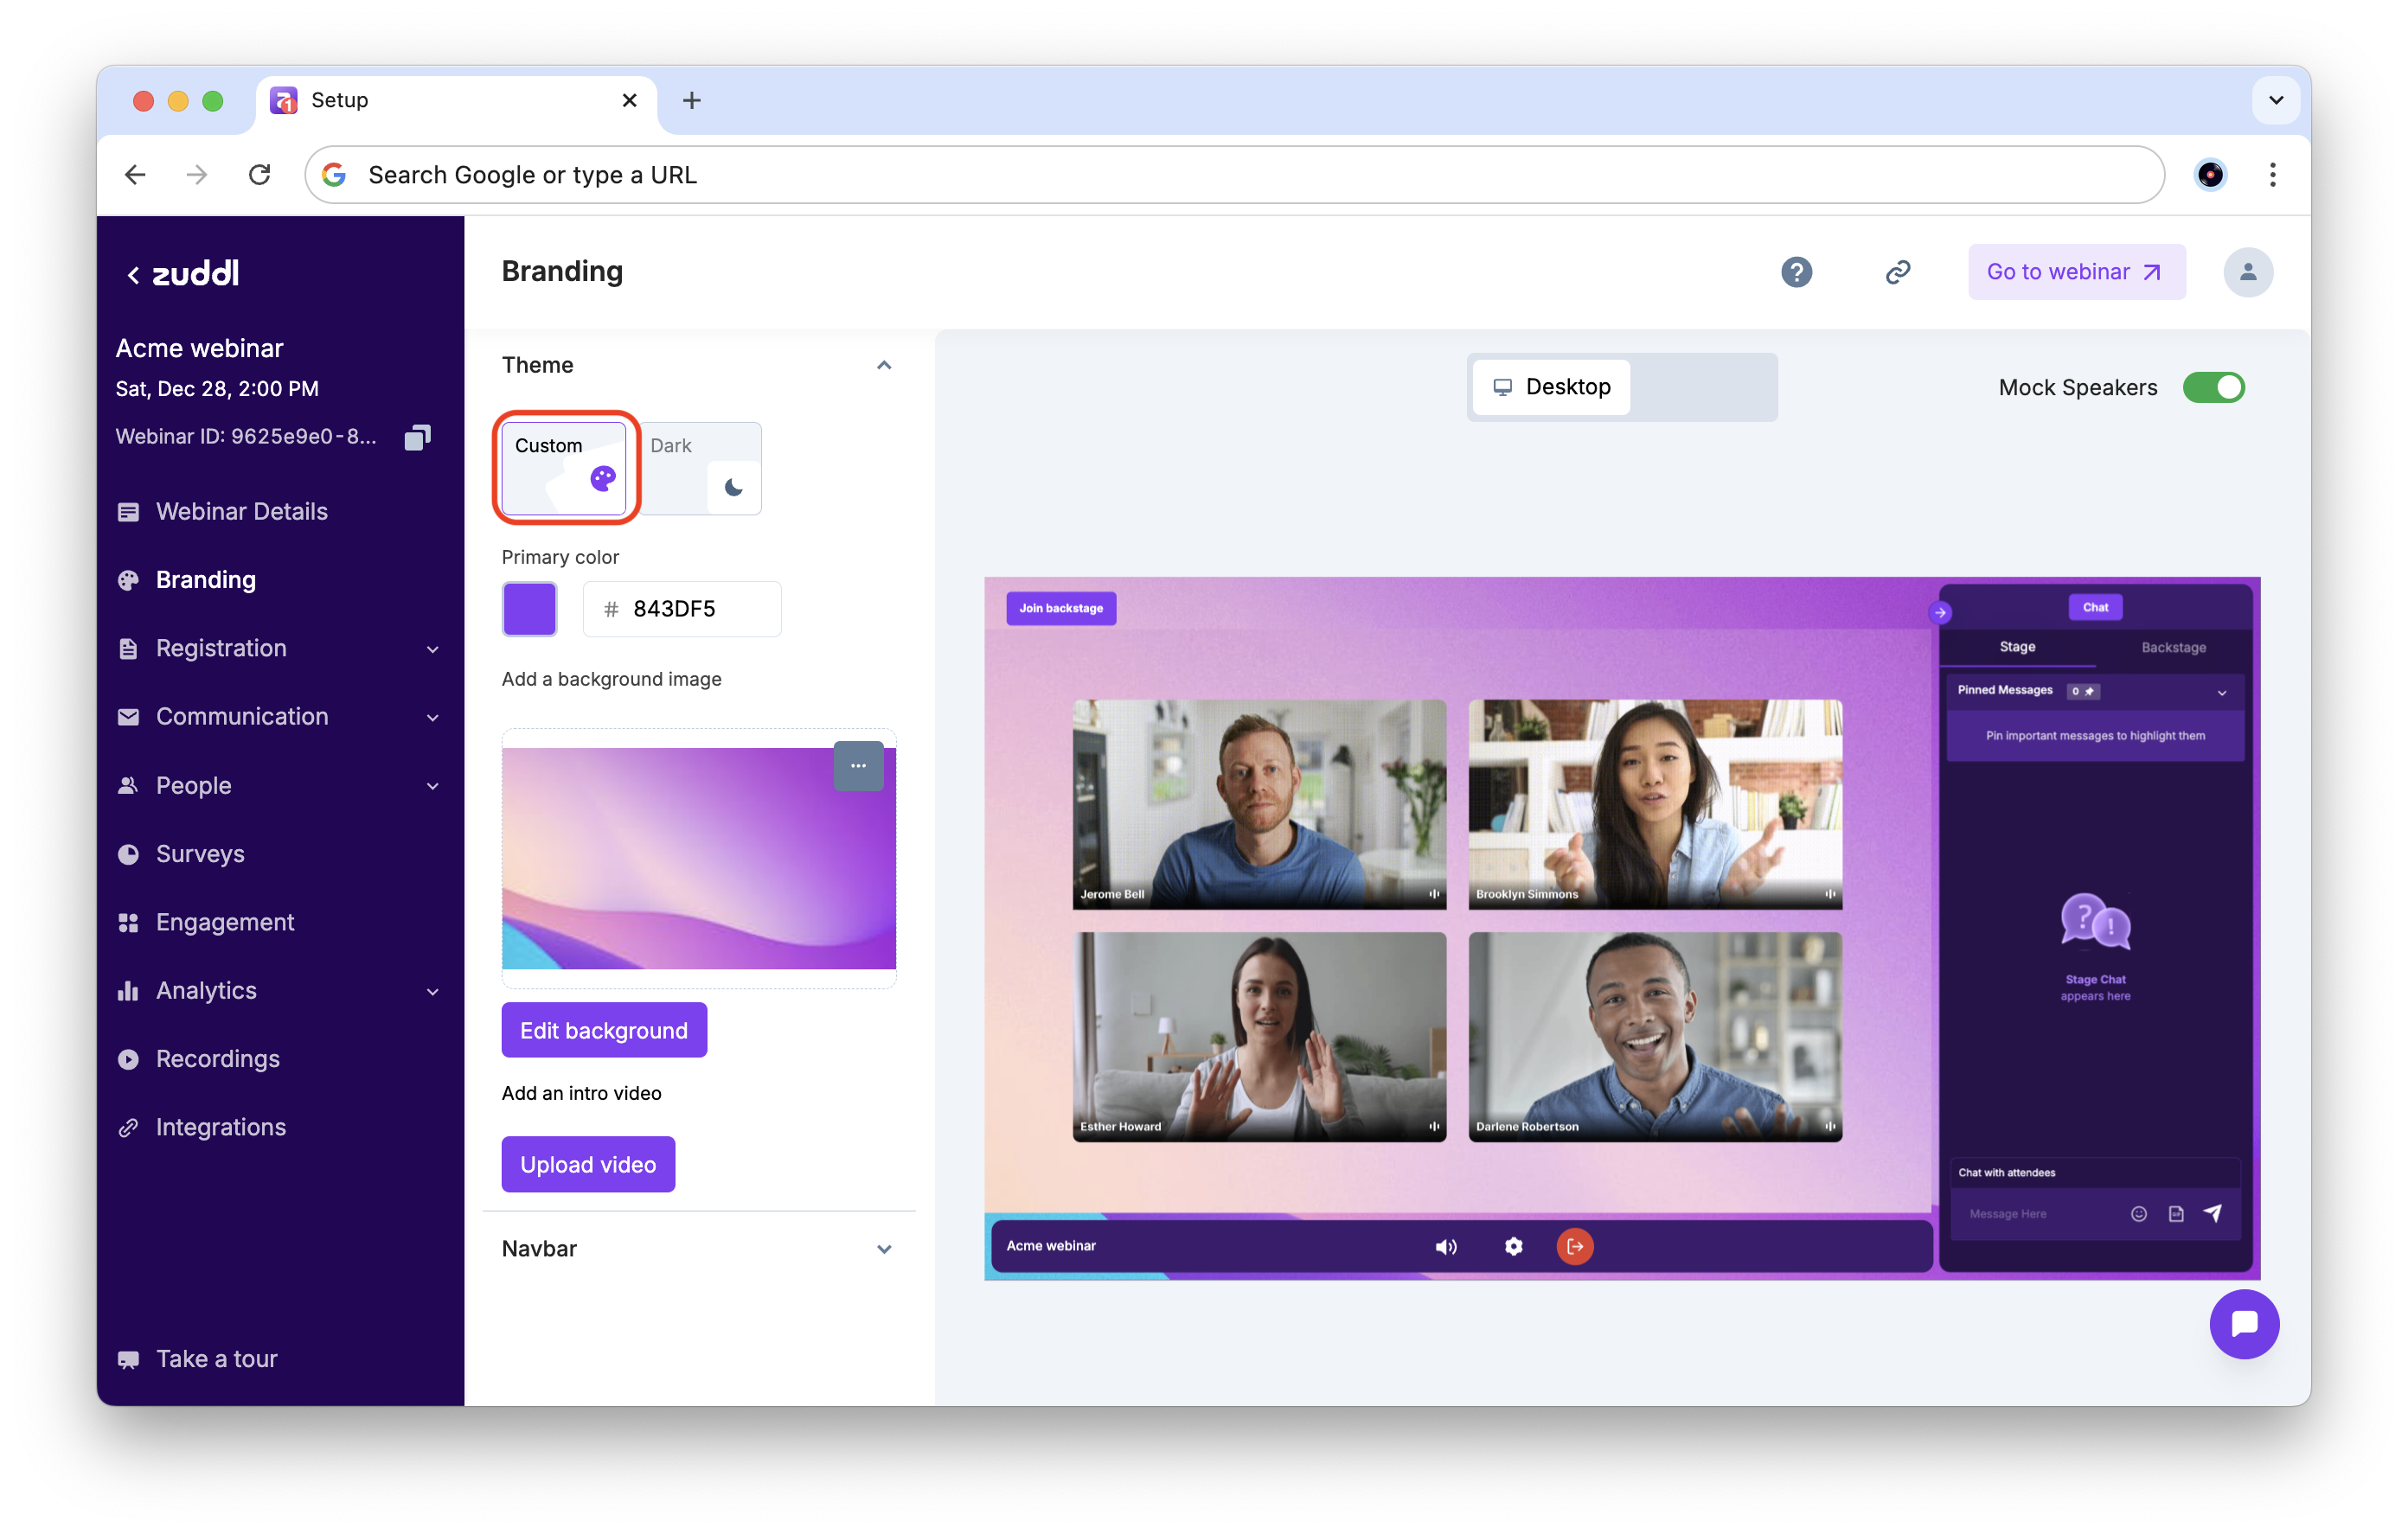
3. Set up registration
Using the registration page editor, drop in a hero image, set a theme colour, and drag speaker cards into place. Now, navigate to Registration › Form to add or edit form fields and activate conditional logic. Keep the form clean — include only the necessary information: name, email, and a qualifying question. If you have a registration page already created, you can embed the form to your page.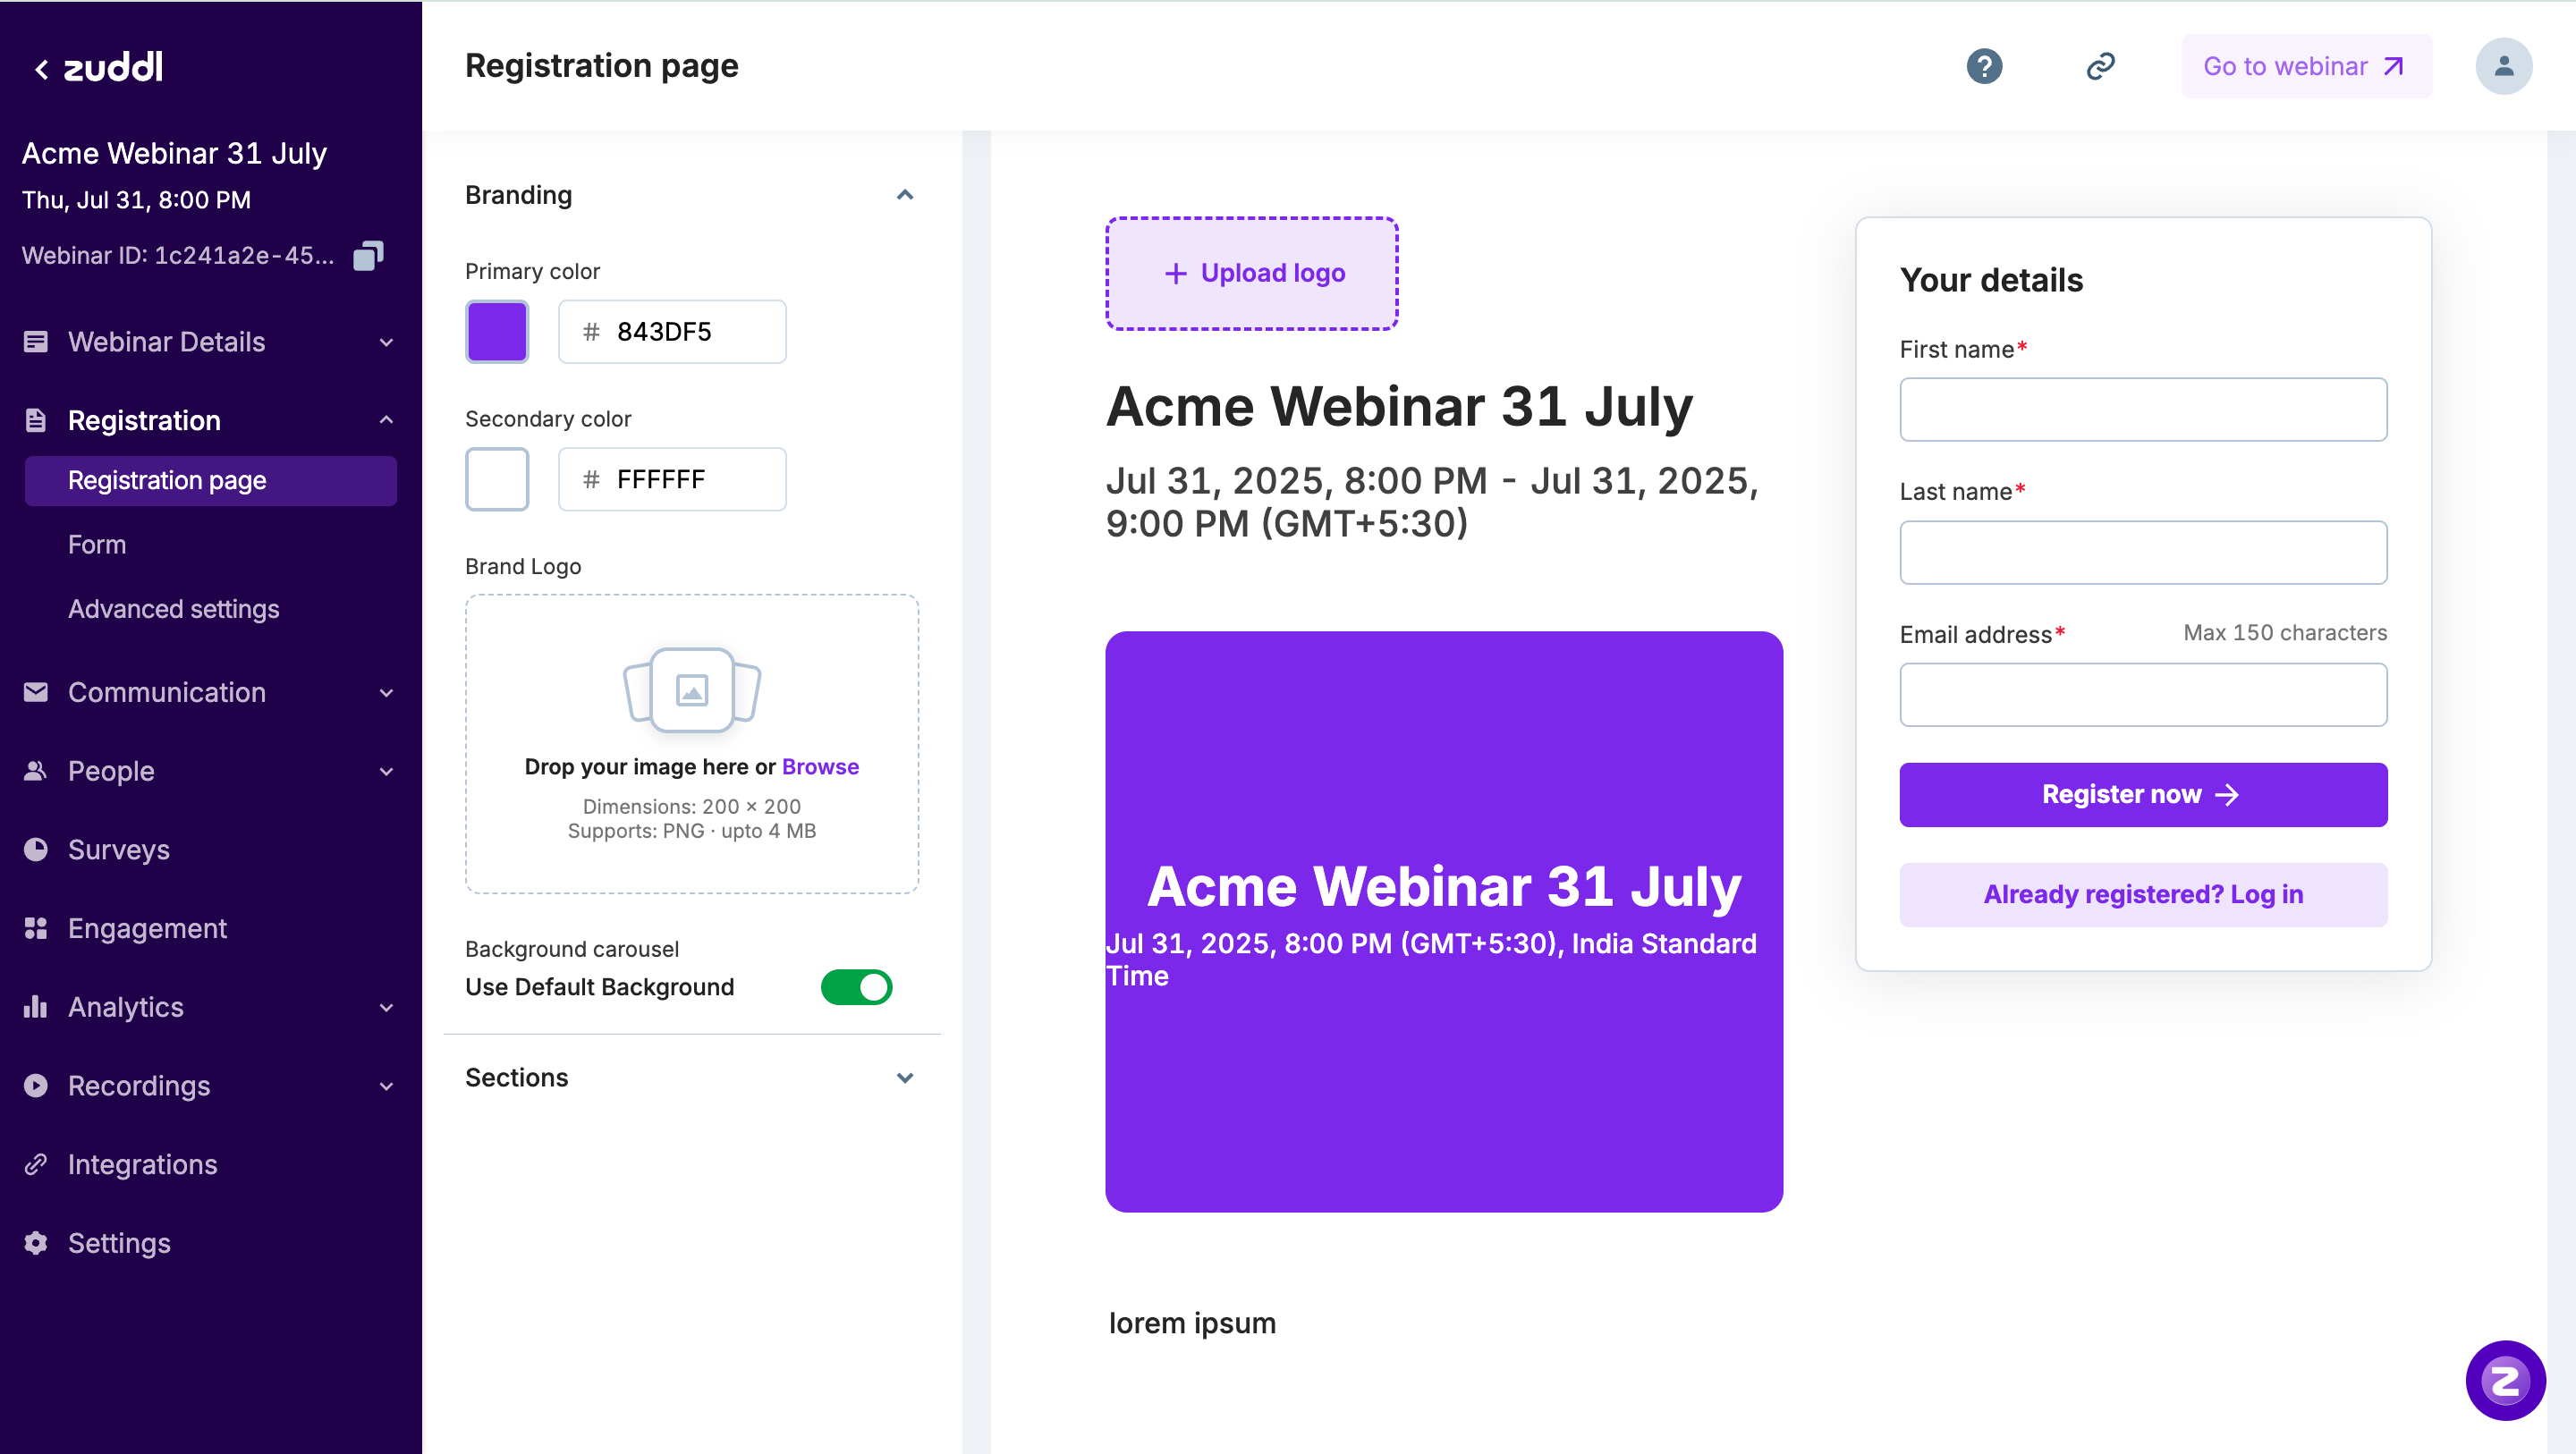
4. Enable engagement tools
Under Engagement, toggle on the features that match your format, for example:Q&A
- to collect up-vote driven questions, adding moderator review if the topic is sensitive.
Request to Join
- When you want live guest cameos; presenters can approve or deny each request in one click.
Polls
Conduct interesting polls to make sessions more fun and engaging.
Chat
Allow participants to chat with each other.
Multilingual Support
Convert the incoming audio into a desired language.
Captions
Add captions to the incoming audio.
Surveys
Add survey questions to assess effectiveness of an event and gather valuable insights.
5. Send speaker invites
Invite speakers to your webinar. Zuddl provides a backstage magic link so speakers can rehearse in a private green room. You can enable magic link for speakers to directly enter the event/backstage— no accounts or passwords required.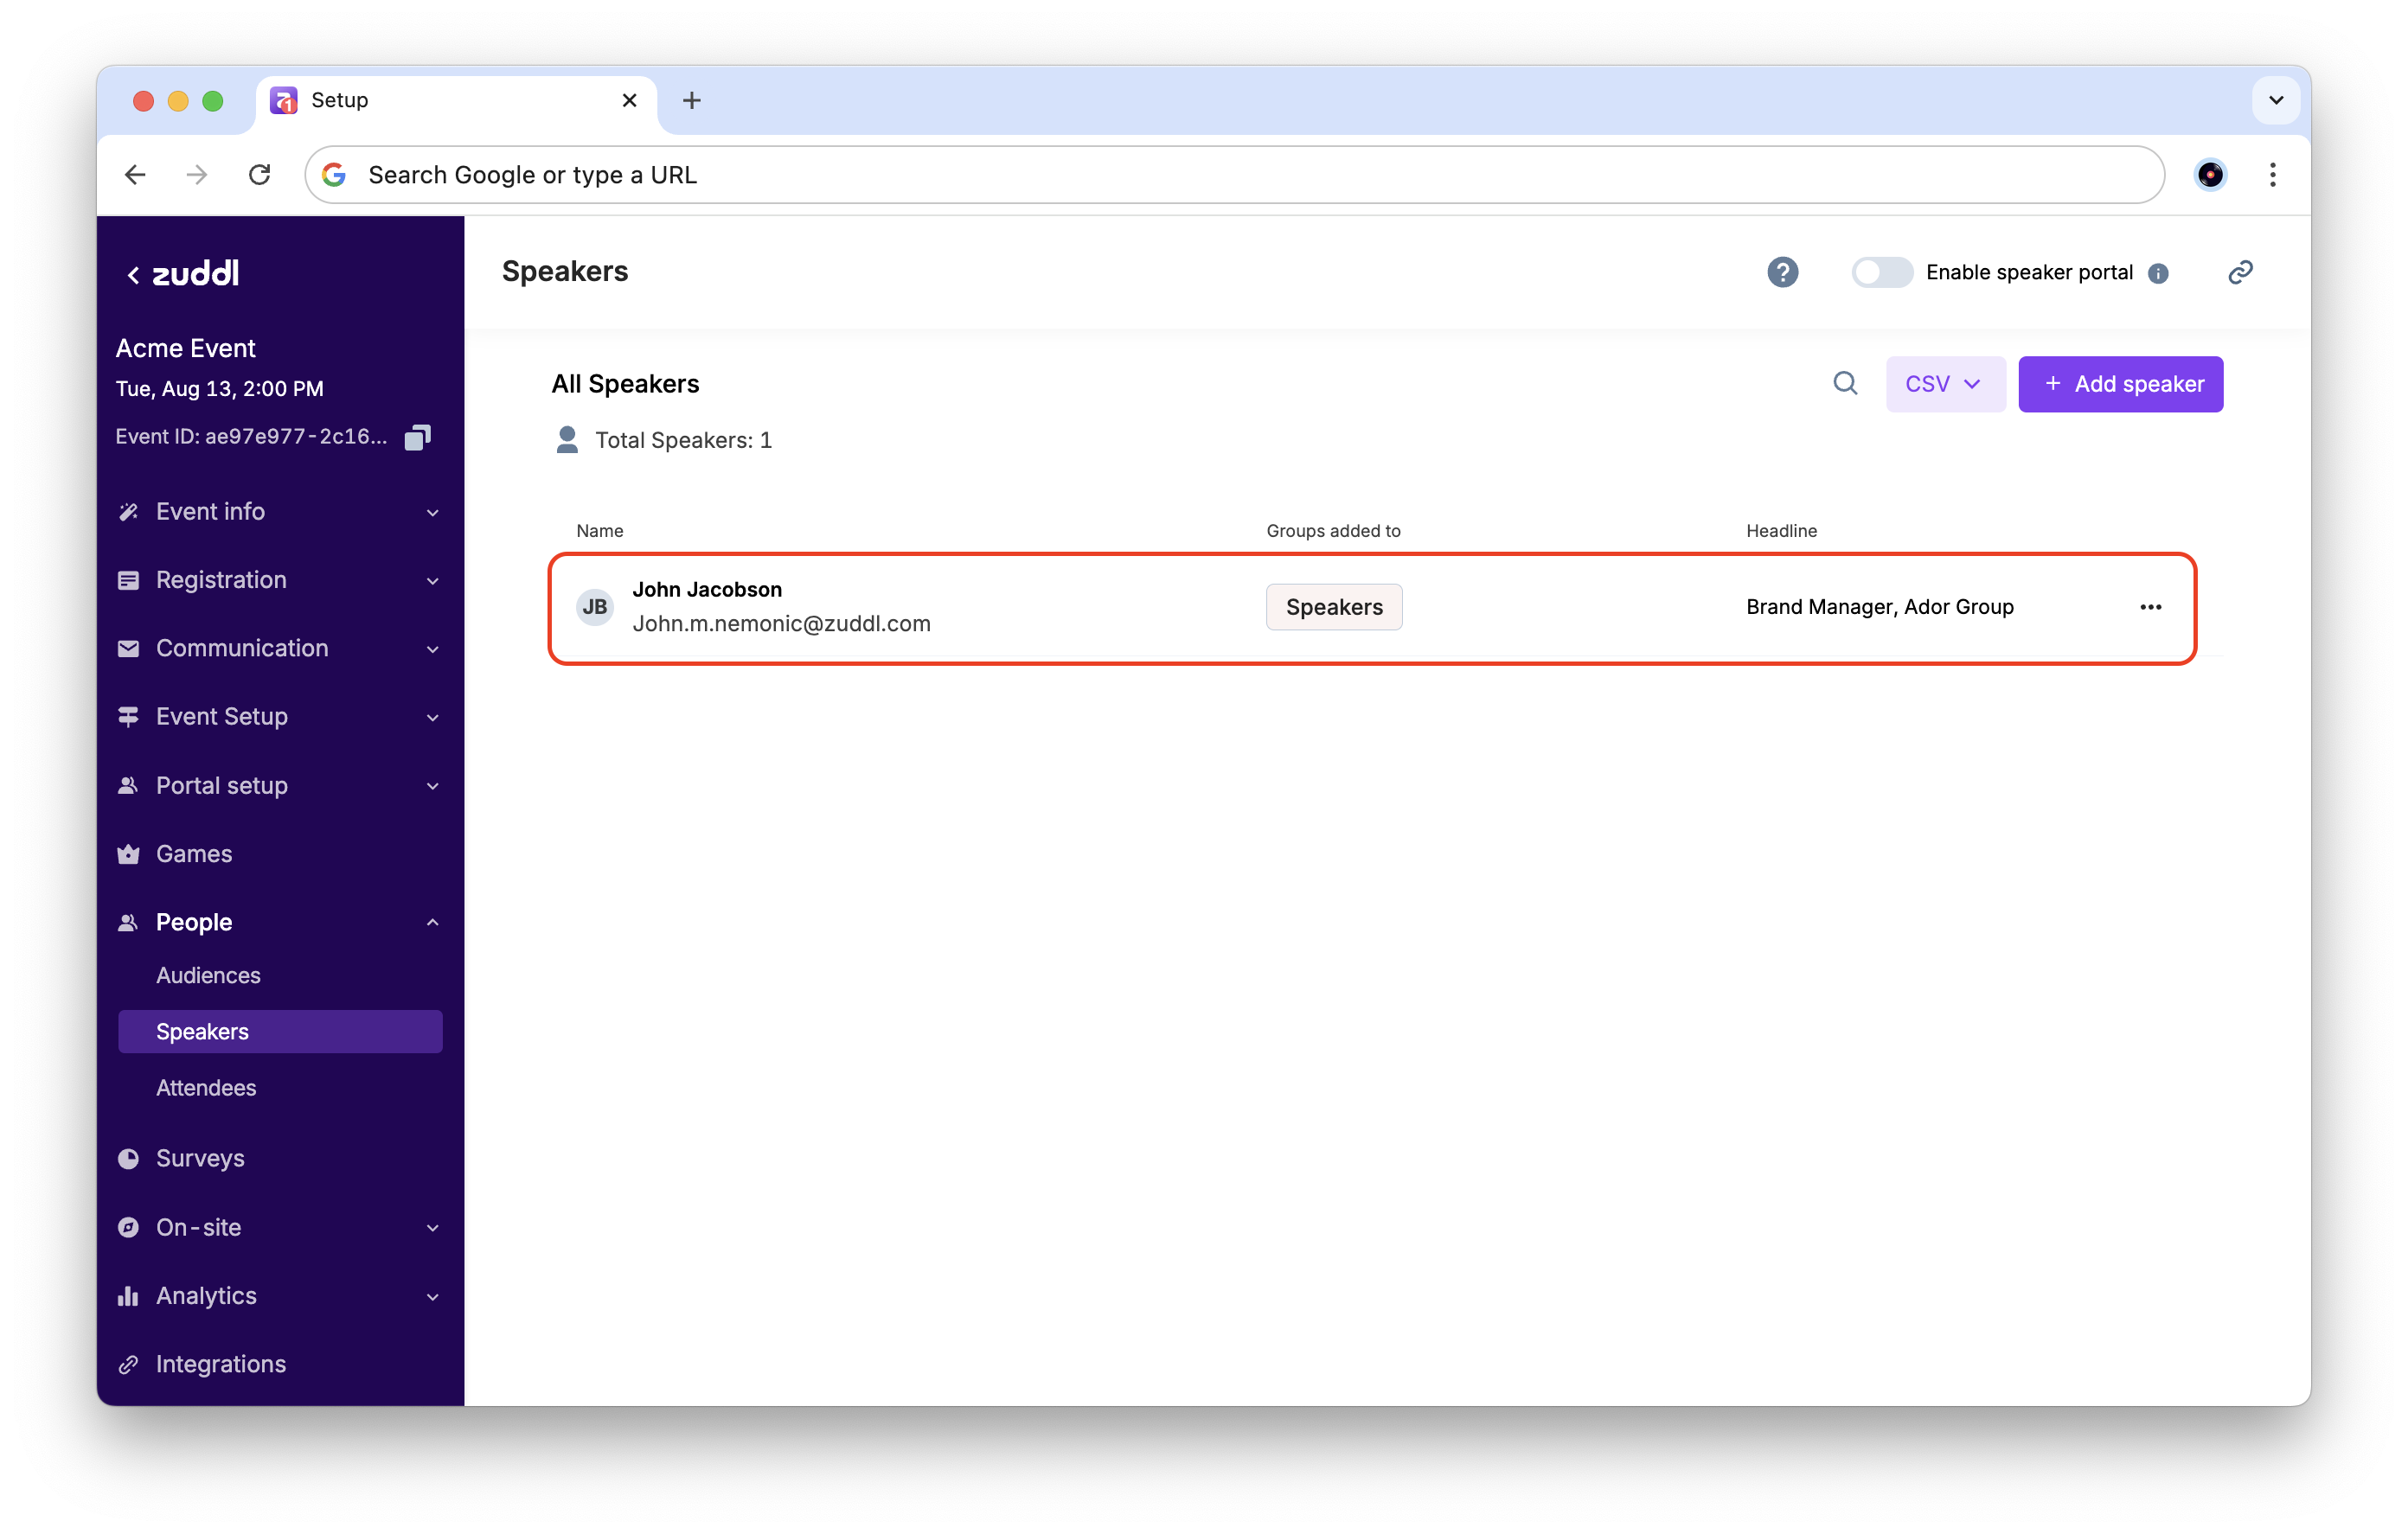
6. Automate attendee emails
Under Communications, emails like registration confirmation, reminders, and post-event emails are pre-defined. Edit the copy and branding, then adjust the schedule relative to the webinar start time so that shifts are propagated everywhere.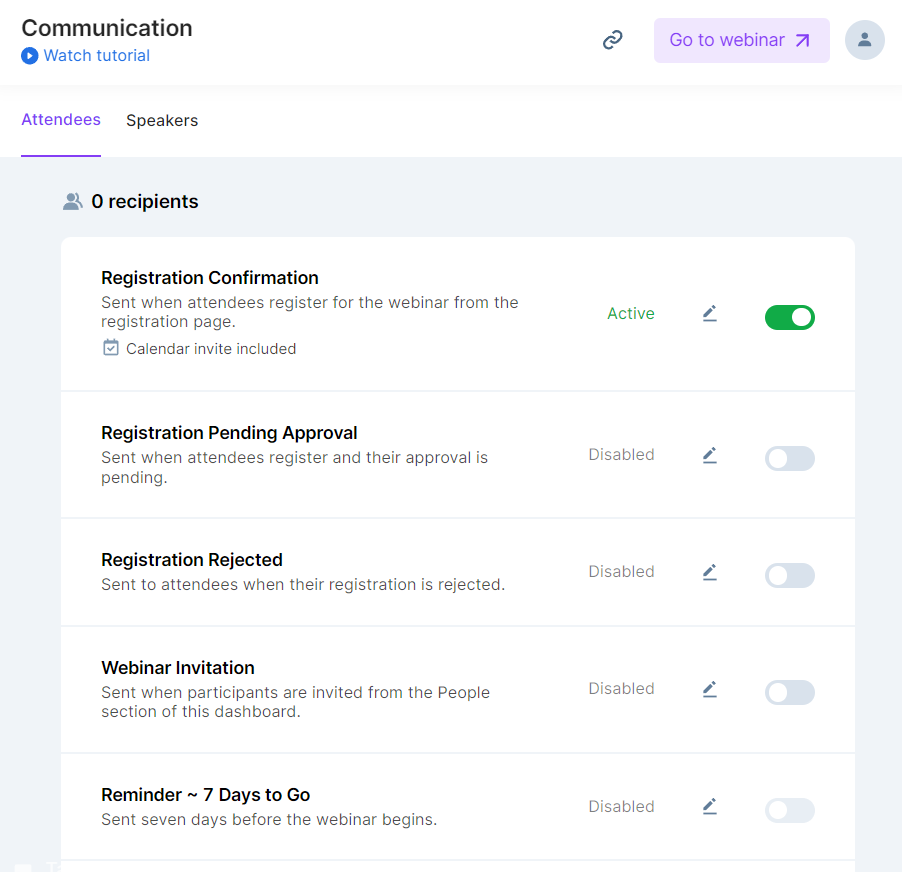
7. Do a dry-run in studio & go-live
Speakers receive the event invitation with a magic link a magic-link invitation. Clicking Go Backstage lands them in Zuddl Studio, where they test the camera, mic, and slides before they hit Broadcast. A countdown timer starts once you stream, giving everyone a constant reference without back-channel chatter.Learn how to manage your Studio.
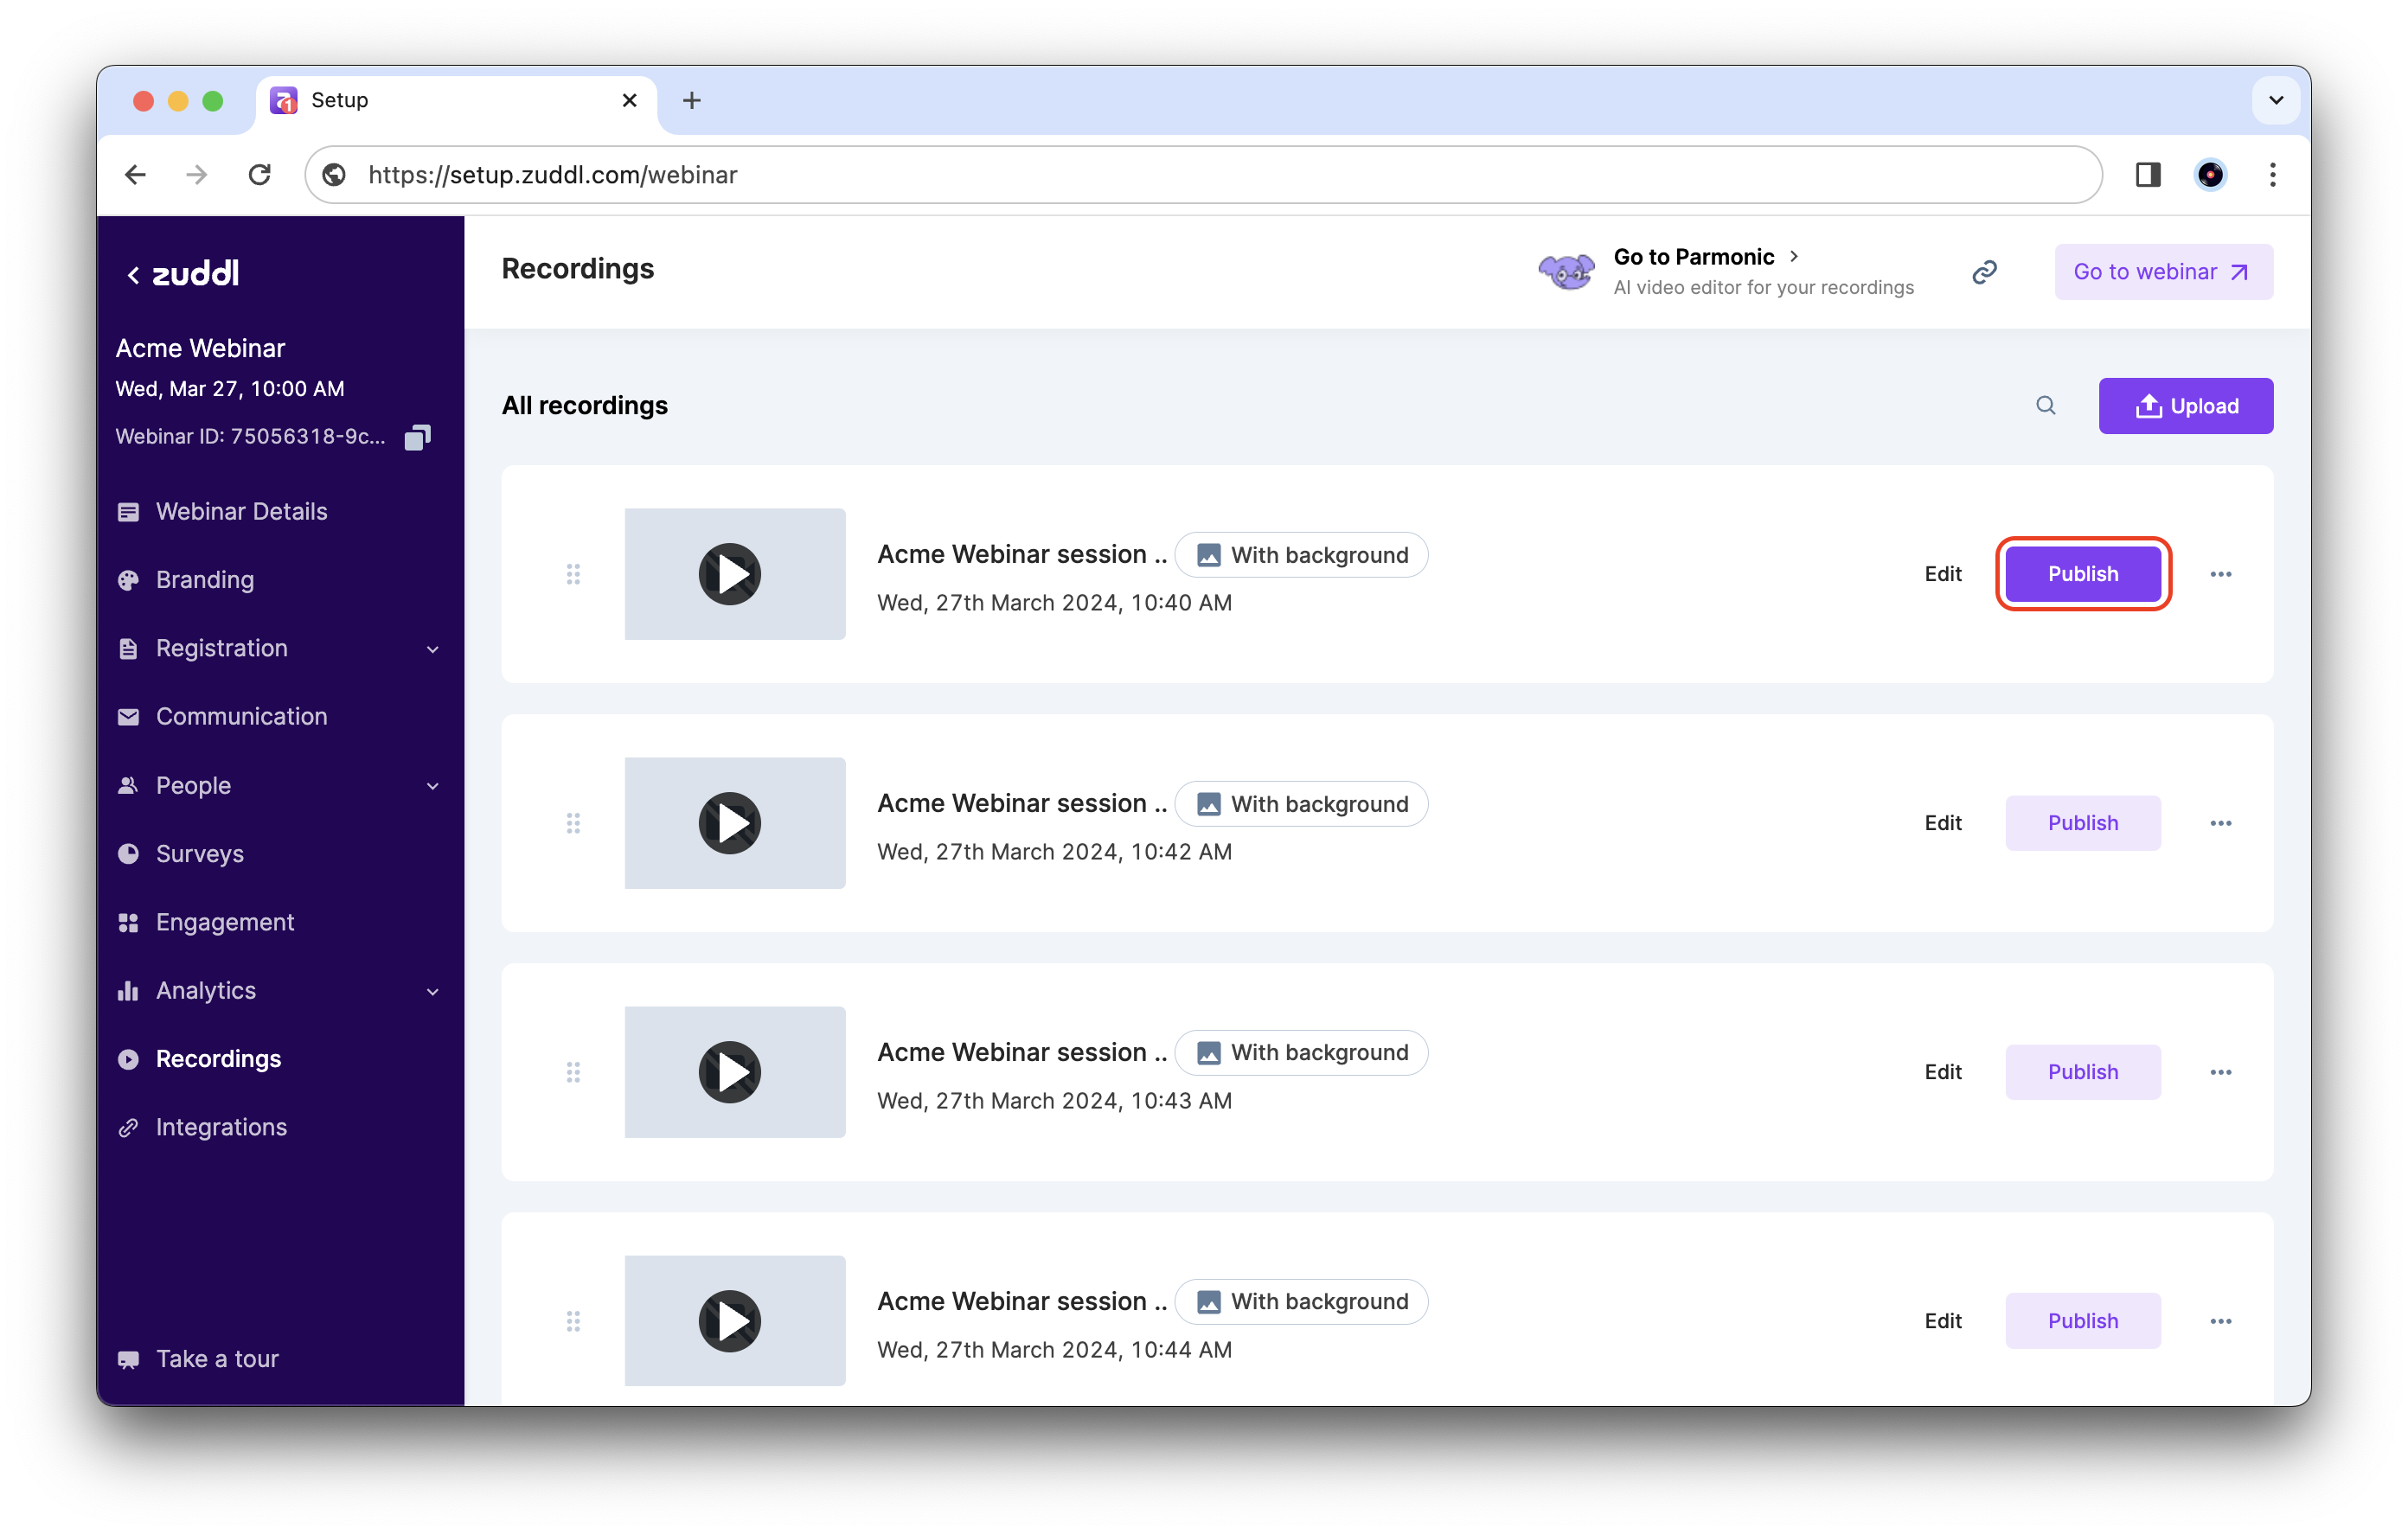
8. Publish recording on-demand
When you stop the stream, Zuddl auto-records and saves the file. Visit Recordings, click Publish, and the recording is accessible appears on your registration page for anyone who missed the live slot. Publishing from the same dashboard avoids downloading huge files, re-uploading to third-party video hosts, and updating broken links.